Table of Content
Calculate exactly how much the wall will cost, exactly what supplies you will need and all the technicalities. One way to sustain the life of your wall is to use marine board. This is more expensive but if you live in a rainy area, you will find the board to be well worth it. Inch (3.2 cm) roofing nails, 8 inches (20.3 cm) on center. Bed the lath with 1/2 inch (5.1 cm) of masonry cement plaster, scoring this "coat" , so that the finish coat will bond.
From personal experience, one of my home climbing walls is at a 22° angle and it is the one I climb on the most. It is also perfect when friends come over to climb that are newcomers to rock climbing. I can set juggier climbing problems for them and we can all have fun on the same wall. It is considered to be the best angle for almost every climbing wall. It is the most popular climbing wall design choice because it can be used on almost any type of rock. It is also one of the easiest climbing walls to set up and climb on.
How to Build a Climbing Wall
Draw the design in pencil so you can get ideas of how you want to lay out the wall in your space and make changes easily. Make your wall about 4 feet (1.2 m) wide by 8 feet (2.4 m) tall.Try out different inclines and angles in your drawing to see what would and wouldn’t work. Narrow down your ideas into the 3 you like the most to give you or the people you live with a choice. Homemade climbing wall maintenance mainly entails fixing broken or cracked holds. After some time, tangential forces often cause the holds, T-nuts, joints, and other screws to spin and loosen up. Vertical walls need about 6 to 8 feet of space for climbers to fall onto.
We would be happy to supply these for your wall and our prices are extremely competitive. While this might be the hardest step, don't let it intimidate you. There are plenty of online resources that can help guide you. If you aren't comfortable doing it yourself, hire someone! You will also have to pay for the labor required to install and maintain the walls, as well as to maintain them after they have been built.
Follow This Old House online:
While this was in part due to thorough planning, it did require focused hard work to make it happen so quickly. With only 2 people working on the wall, the work was very physically demanding as well. We knew we could do it and were motivated to finish quickly, but this approach might not be for everyone. If available, naturally rot-resistant woods are a less toxic alternative. Sealing untreated lumber like pine is another way to avoid using pressure-treated lumber for your wall structure.
We’ve climbed on our ¾” wall for several months with no issues! This size is also used by US climbing hold manufacturers as the basis for t-nut and bolt lengths. A freestanding rock climbing wall might have a frame that is larger than the wall itself, so make sure that will fit your space as well. Roughly holds per sheet of plywood is a nice and easy standard to go by. You will probably start at less than that but you can gradually work your way up to that. When I set out to build our home climbing wall, I selected the back corner or a large shop building.
Why build a climbing wall?
Next, decide where to build the wall – indoors or outdoors. Once you get a couple layers of mattresses piled offset like bricks, apply some of the foam offcuts on top, then the carpet and your good to go. If your wall is not too big you can also use a bouldering pad for softening landings. Once you have ample amount of offcuts, cover the lot in low pile or thin industrial type carpet that you can also easily recover from the tip for next to nothing. To prevent the carpet from moving all over the place screw it to the very bottom of your wall. Padding will not be required within about cm of the base of your wall.
Inch (1.9 cm) exterior plywood sheathing attached with 2 inch (5.1 cm) number 8 wood screws 8 inches (20.3 cm) on center. You will need to attach diagonal bracing solidly anchored to the back of the wall and the earth behind the structure to keep it upright. Make sure you have non-perforated wood rather than particle wood for the best support. Use a table saw or circular saw to cut your plywood down to the correct size to fit the frame.
Take some time to consult your climbing gym trainer or climbing buddies when visualizing your climbing wall. For outdoor walls, you’ll need to make a supporting wall and waterproof literally everything. Regardless of how good a job you do, the holds won’t stay as long as they would indoors. Although indoor walls come with their own subset of problems. In order to become a rock climbing instructor, you first need a passion for rock climbing and working with others. The key to making profits is to have enough paying members and daily-use customers to make more than the costs of operations.

If you're really worried about it, you can always build a freestanding climbing structure. You need space behind the plywood for the bolts to poke through. For that reason, we mount it on furring strips (1 x 2-inch pieces of lumber) rather than directly to the drywall. One method for increasing the functional life of marine boards is to include them in your wall structure. If the wall is positioned outside, you should expect the bolts to rust with time.
You could find wood planks at a hardware store or wood retailer. Place foam gymnastic mats or thin mattress under the walls so you have a cushion in case you fall off the wall. Cover the area around your wall since you will not always fall straight down next to the wall. Handholds can be purchased online or at specialty climbing stores. If you want a wall that’s 8 ft × 4 ft (2.4 m × 1.2 m), the outline of your frame will be the same size. For example, if you want an 8 ft (2.4 m) wall, your 2 bases would be 16 ft (4.9 m) and your 4 angled boards would be about 18 ft (5.5 m).
Anchoring the climbing wall to the studs makes the whole set-up extra secure so it will be able to handle the full weight of your kids without pulling away from the wall. To build the climbing wall, you’ll first create a frame on the wall with furring strips. Now that the wall is prepared, cut the furring strips to the correct length to cover the wall from floor to ceiling.
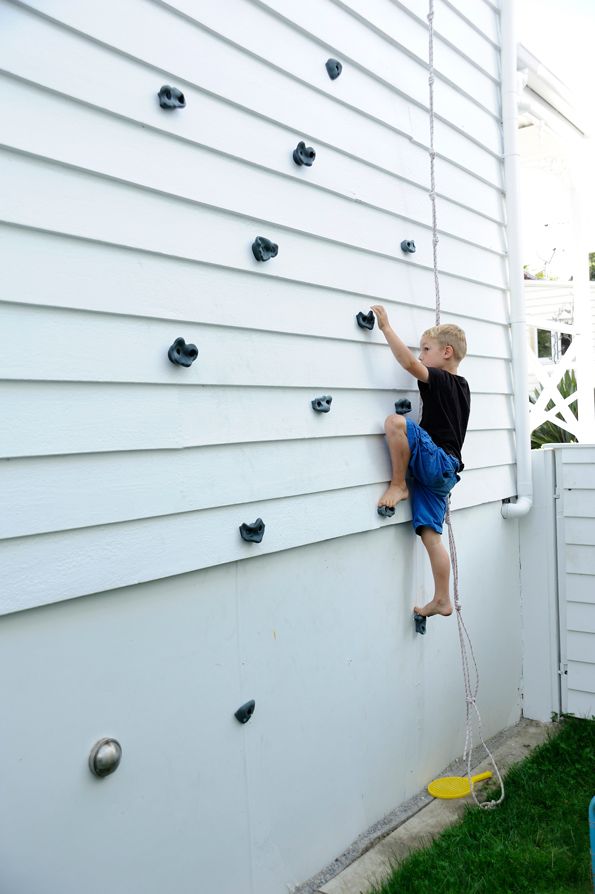
Choose the wall you’ll use for climbing and mark the area you want to cover. How much you want to cover depends on the size of your climbers. Toddlers would be happy with less space, for example, than teenagers. A wall of foot chip climbing holds on our home climbing wall. Both lumber and plywood are typically available in standard sizes. You can use these dimensions as the basis for your wall design to simplify building.

Lumber and plywood are a great place to start working on design specifics if you’re feeling lost. The following sections will cover some specifics of wall design to help you get started. One design feature everyone designing a home climbing system will have to consider is the wall angle. This is a device that is attached to the climber’s harness and allows him or her to climb without the use of a rope.
Tools & Materials
However, one benefit of screw-ons is they require a little less pre-planning since they can be screwed onto the wall essentially anywhere. Many brands such as Metolius, eGrips, and SoIll sell climbing holds as kits. If building directly onto soil, consider how that will influence the base of the wall. Uneven ground can lead to an uneven frame, and a heavy climbing wall can sink into soft soil over time.

Consults a span calculator to get the right size lumber for your space. If in doubt, go bigger and "over-build." Nobody ever complained about a climbing wall that was too strong. If you are a novice climber, a 20-25° angle will be challenging but enable you to make gains faster.


No comments:
Post a Comment